Table of Contents
Craving a dessert that's both neat and delicious? Look no further than crème caramel! This classic French treat, with its silky custard and rich caramel sauce, is a crowd-pleaser for any occasion. But don't let its fancy name intimidate you. Making crème caramel might seem complicated, but it's actually quite simple. In this guide, we'll walk you through every step, from creating the caramel sauce to baking the custard. By the end, you'll be a crème caramel pro, ready to impress your friends and family with your culinary skills. So, grab your ingredients and let's start on this delicious exploration together!
Step | Instructions | Tips |
|---|---|---|
Preparing the Caramel | Heat sugar and water in a saucepan over medium-high heat, stirring occasionally, until the sugar dissolves and the mixture turns amber. Alternatively, heat the sugar and water without stirring until an amber caramel forms. Divide the caramel among ramekins, swirling them to coat the bottoms. | Use a heavy-bottomed saucepan to prevent scorching. Watch the caramel closely as it cooks, as it can burn quickly. |
Preparing the Custard | Combine milk, sugar, and vanilla in a saucepan and bring to a boil, stirring until the sugar has dissolved. In a separate bowl, beat eggs. Gradually add the hot milk mixture to the eggs, whisking constantly. | Use whole milk for a richer custard. Make sure the milk mixture is hot but not boiling before adding it to the eggs. |
Assembling and Baking | Pour the custard mixture over the caramel in the ramekins. Place the ramekins in a large roasting pan and add hot water to come halfway up the sides of the ramekins. Bake in a preheated oven at 325°F (160°C) for 15-20 minutes or until the custard has set. Do not overcook the custard – check around the edges of the dishes to make sure no bubbles are appearing. | Use a baking dish that's large enough to hold the ramekins without overcrowding. The water bath helps to prevent the custard from cracking. |
Chilling and Serving | Remove the ramekins from the oven and let them cool. Chill the crème caramel in the refrigerator for at least 4 hours or overnight. The caramels can be made up to 3 days in advance. Serve chilled, with the caramel sauce on top. | Let the crème caramel cool completely before chilling to prevent condensation forming on the surface. |
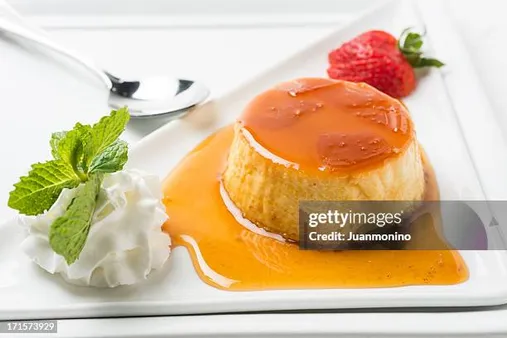
Mastering Creme Caramel: The Ultimate Guide
Making Creme Caramel: The Caramel
The Caramel Foundation
Making caramel is like building a house: you need a strong foundation. That foundation is your saucepan, and it's important to pick one that's heavy-bottomed. This helps to distribute the heat evenly, preventing the sugar from burning. Think of it like a sturdy base for your caramel castle.
Sugar and Water: A Sweet Partnership
Now, for the magic! You'll need sugar and water. Imagine the sugar as the building blocks of your caramel castle, and the water as the mortar that binds them together. The water helps the sugar melt evenly, and it's important to stir it gently as it heats up. Think of it like a dance between the sugar and water, leading to a perfect caramelized result.
Caramel Color: The Golden Touch
As the sugar and water mixture heats up, it'll start to change color. This is where the fun begins! You'll see it transform from a clear liquid to a golden amber hue. This is the color of your caramel castle, and it's crucial to watch it closely. If you let it go too long, it'll turn dark and bitter, like a burnt castle. Don't worry, though, you can always start over. Just remember, patience is key!
- Use a heavy-bottomed saucepan to prevent scorching.
- Watch the caramel closely as it cooks, as it can burn quickly.
Sources: Creme Caramel Recipe - Martha Stewart
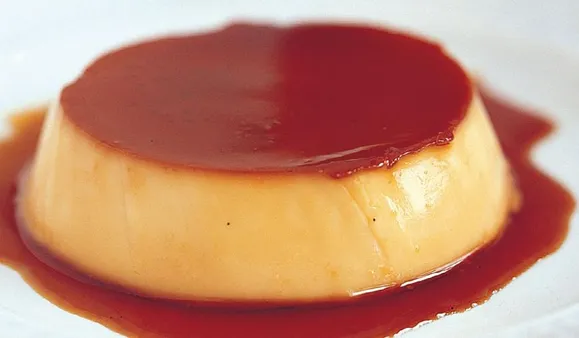
Making Creme Caramel: The Caramel
Making Creme Caramel: The Custard
The Custard: A Creamy Embrace
Now, it's time for the custard! This is the heart of your crème caramel, the silky smooth part that makes it so delicious. Think of it as a warm, comforting hug for your taste buds. To make the custard, you'll need some key ingredients: milk, sugar, vanilla, and eggs. The milk is the base, the sugar adds sweetness, the vanilla provides a touch of magic, and the eggs are the secret ingredient that makes the custard so rich and creamy. It's like a symphony of flavors, all coming together to create a masterpiece.
Whisking Your Way to Custard Bliss
You'll want to whisk the eggs before you add the hot milk mixture. Think of the whisk as a conductor, guiding the eggs into a smooth and fluffy texture. This helps prevent the eggs from scrambling when you add the hot milk. Imagine you're gently mixing together the ingredients, like a baker carefully folding flour into batter. The key is to do it slowly and gently, so you don't end up with scrambled eggs in your custard. If you're worried about your custard getting too thick, you can add a little bit of cream or even some cornstarch to help thin it out. It's like adding a dash of magic to your custard, making it even more luxurious and smooth.
- Use whole milk for a richer custard.
- Make sure the milk mixture is hot but not boiling before adding it to the eggs.
- If you're worried about your custard getting too thick, you can add a little bit of cream or even some cornstarch to help thin it out.
Sources: Crème Caramel | RICARDO
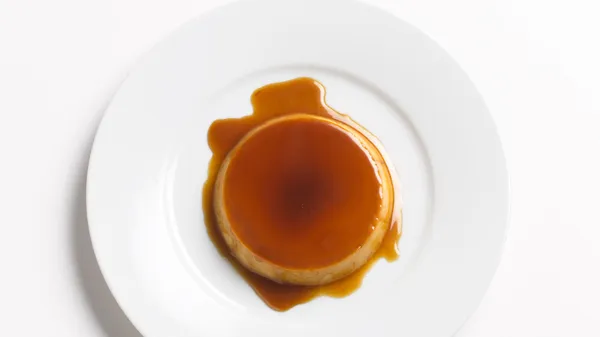
Making Creme Caramel: The Custard
Making Creme Caramel: Putting It All Together
The Big Reveal: Caramel and Custard
Okay, so we've got our shimmering caramel sauce and our creamy custard. Now, it's time for the big reveal! Imagine it like this: you've got a beautiful, golden castle made of caramel, and you're going to pour the custard over it, like a thick, delicious blanket. This is where things get exciting, because it's all about bringing the two together to create a masterpiece. I'm talking about pouring the custard carefully over the caramel in your ramekins. This is like a slow, graceful dance, making sure the custard settles evenly over the caramel.
Baking Time!
Next, we're going to bake our crème caramel. Think of it as a magical transformation, where the custard sets and the caramel melts into a smooth, gooey sauce. You'll want to put your ramekins in a baking dish filled with hot water. This is like a warm bath for your crème caramel, helping it cook evenly and prevent it from cracking. It's a little bit like baking a cake, but with a lot more drama!
- Use a baking dish that's large enough to hold the ramekins without overcrowding.
- The water bath helps to prevent the custard from cracking.
Sources: Classic crème caramel recipe - BBC Food
Making Creme Caramel: The Wait Is the Hardest Part
Patience, Young Padawan
Now, here's the tricky part: you need to be patient. You've got to let the crème caramel cool down in the oven before you take it out. It's like giving it a little time to relax and settle in. Think of it as a spa day for your crème caramel, allowing the flavors to mingle and the custard to set properly.
The Grand Finale: Chilling and Serving
Once it's cooled down, you can pop it into the fridge for a few hours or even overnight. This is like putting your crème caramel to bed, giving it time to dream of deliciousness. When you're ready to enjoy it, you'll find that the caramel has turned into a smooth, silky sauce. Serve it chilled, and watch it disappear in an instant. It's a truly satisfying experience, knowing that you created this culinary masterpiece all by yourself.
Step | Instructions | Tips |
|---|---|---|
Chilling | Chill the crème caramel in the refrigerator for at least 4 hours or overnight. | Let the crème caramel cool completely before chilling to prevent condensation forming on the surface. |
Serving | Serve chilled, with the caramel sauce on top. | You can add a dollop of whipped cream or a sprinkle of chopped nuts for extra flavor. |
Sources: Crème caramel recipe | Good Food
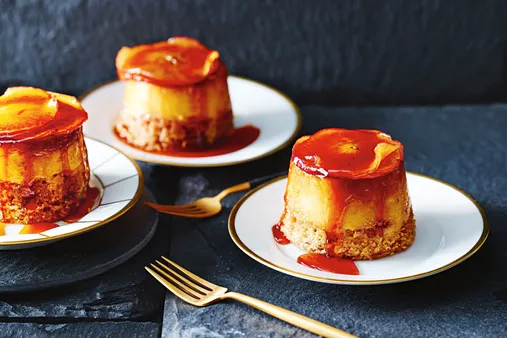
Making Creme Caramel: Putting It All Together
Making Creme Caramel: The Wait Is the Hardest Part
Okay, so you've got your caramel sauce and your custard all set. You've poured it all together and baked it in a water bath. Now, the real test of patience begins. You have to wait. I know, I know, it's hard! You're probably thinking, "Can't I just eat it now?!" Trust me, you'll thank me later. The crème caramel needs time to cool down and set properly. Think of it like this: Imagine you're making a sandcastle. You can't just build it and then run off to play! You have to let the sand settle and harden, so it doesn't crumble. It's the same with crème caramel. If you rush it, it won't be as smooth and delicious.
After the crème caramel has cooled down in the oven, it's time for a little chill time in the fridge. This is like sending your crème caramel to a spa day. It's going to relax and get ready for its grand entrance. While it's chilling, you can go do something else. Maybe you could try making another dessert, like a Queen Amann, or maybe a Portuguese Custard Cup. Just don't forget about your crème caramel!
- Let the crème caramel cool down in the oven before taking it out.
- Chill the crème caramel in the refrigerator for at least 4 hours or overnight.
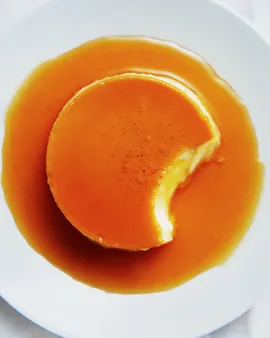
Once it's chilled, you'll have a beautiful, creamy dessert that's ready to be enjoyed. And let me tell you, it's worth the wait. The caramel will be smooth and silky, and the custard will be rich and creamy. It's a truly satisfying experience, knowing that you created this culinary masterpiece all by yourself.
So, next time you're looking for a dessert that's both delicious and easy to make, give crème caramel a try. You won't regret it!
Sources: Crème caramel recipe | Good Food
Making Creme Caramel: The Wait Is the Hardest Part
Final Thought
Making crème caramel is a rewarding experience that will leave you feeling like a culinary wizard. It's a dessert that's both impressive and surprisingly easy to make. Remember, practice makes perfect, so don't be afraid to experiment with different flavors and techniques. And most importantly, enjoy the process and the delicious results! Happy baking!